
Recording Chrome screen is always highly demanded in our daily lives, such as capturing YouTube videos, saving a special web page or recording a tutorial video online, etc. Therefore, we are here to drop five top solutions for you regarding this recording demand, varying from online tool to desktop program. Let’s get to know these awesome Chrome screen recorders RIGHT NOW!
TOP 5 Google Chrome Screen Recorders
ApowerREC
The first one is a Chrome extension! If you don’t know what’s a Chrome extension yet, well, you definitely need to visit Chrome Web Store and check out all the amazing tools. Back to ApowerREC, you are free to record desktop, browser tab or webcam along with the system sound or microphone by adding this Chrome recorder and launching it directly from the Chrome toolbar:
- Simply search “ApowerREC” at Chrome Web Store and add this extension.
- Once the extension is enabled, directly launch it at Chrome’s top right corner. Before the recording, you need to choose from three modes first: Browser Tab, Desktop and Webcam, meanwhile, you can also select to include system sound, microphone, both audio sources, or no sound at all.
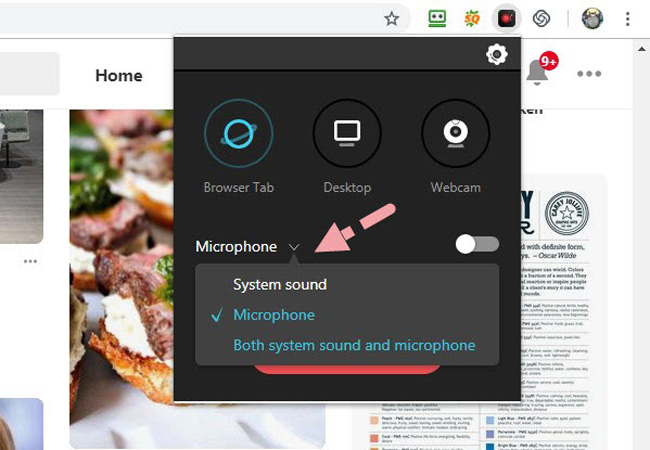
- When all the settings are done, click “Record” to get started:
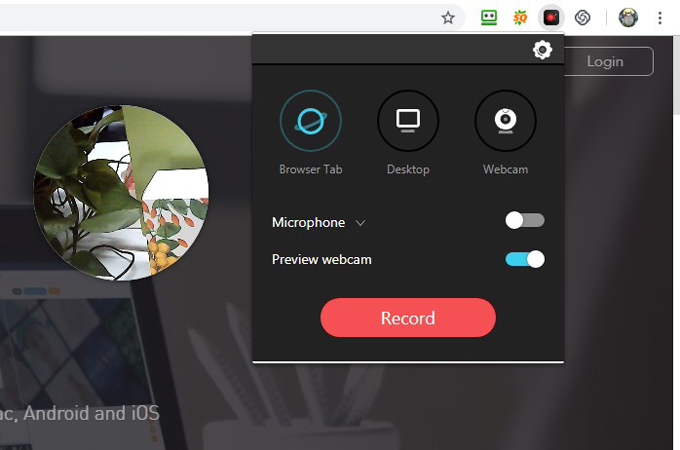
- During the recording, you can notice how long you have recorded so far, and simply click the red button to stop the process.
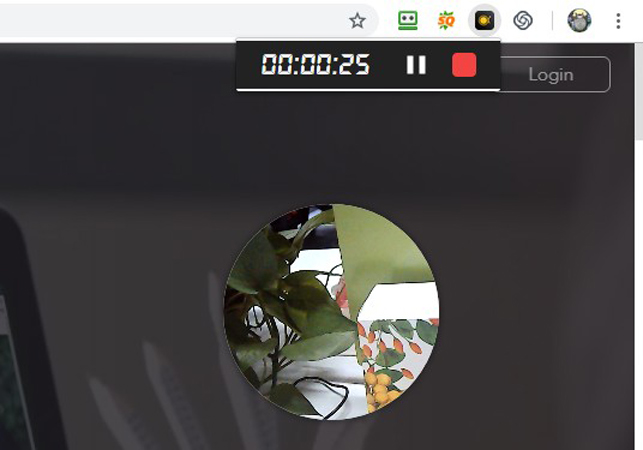
Once done, the file will be automatically saved to your local disk and notice you from Chrome’s bottom left corner where you can check video’s saving location.
ShowMore
As the only online solution here, ShowMore has unlimited recording time and no watermark. With free annotation tool on the recording toolbar, this online program is genuinely a practical and functional Chrome screen recorder with no payment attached.
- Go to ShowMore’s official site and launch it directly by clicking “Start Recording”.
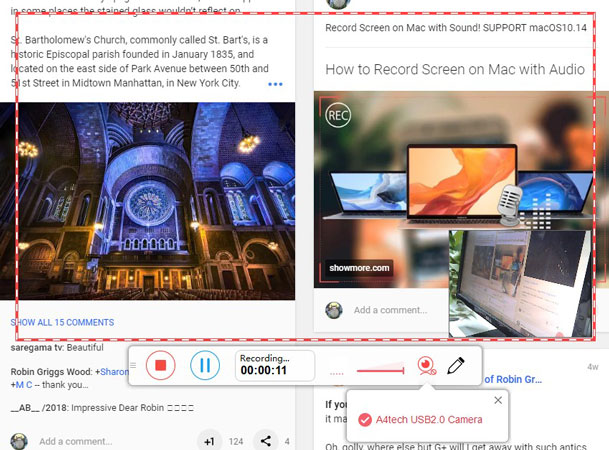
- Next, hold your mouse and drag out an area you want to capture and choose the audio source from the microphone-liked icon according to your own preference. Then, click the first red button from left side to begin recording.
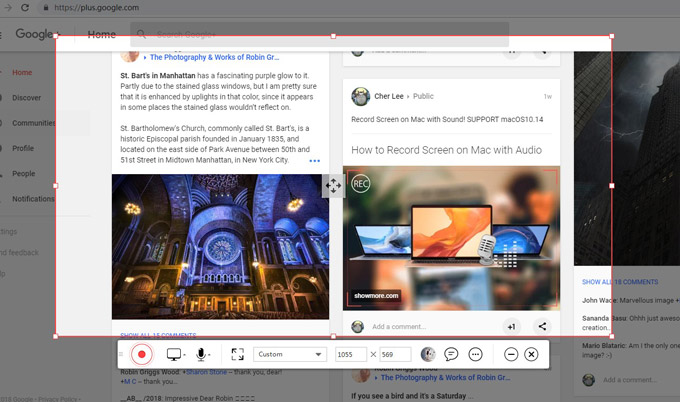
- During the recording, you can use the first and second icon from right side to expand annotation tool and add webcam image separately.
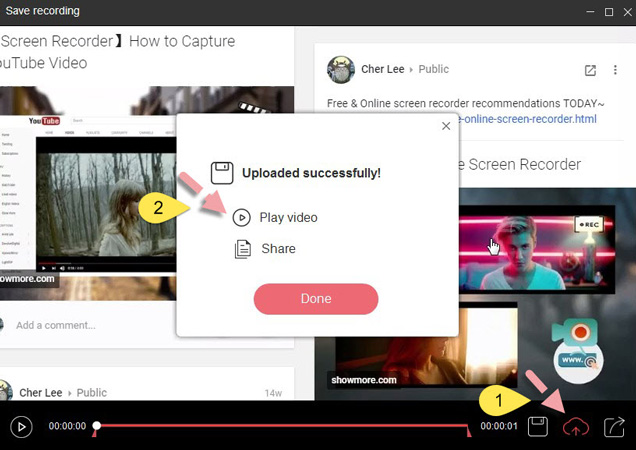
- Cloud space on ShowMore is provided for video uploading once the recording is ended. Simply click the cloud-liked icon at the bottom right corner and follow through the uploading process, then, choose “Play video” to check the recorded Chrome screen.
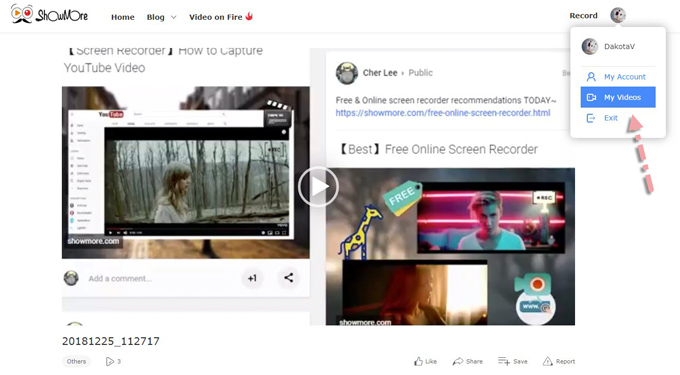
- Next, click “My Videos” from the account icon at top right corner and you will be able to check all of your videos recorded by ShowMore.
VidGrid
Just like the previous Google Chrome screen recorders, VidGrid can be applied to record any Chrome activities, such as education, training, game, live stream and so much more. However, it should be noted that no matter you start with individual or business version, a 14-day free trial will be given to you upon the registration.
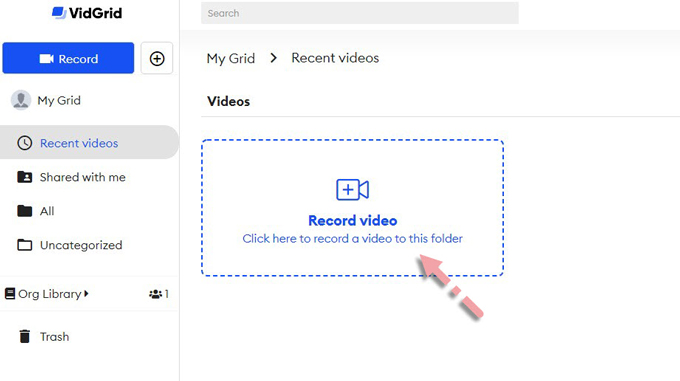
- Start with an account registration of VidGrid, the recording is launched directly at the VidGrid account panel:
- Unlike ShowMore, you cannot edit the screen in the course of recording Chrome screen. Pause, stop or delete are all the options you got on the panel.
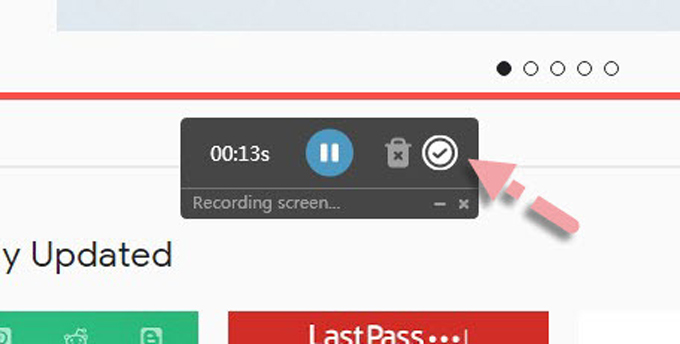
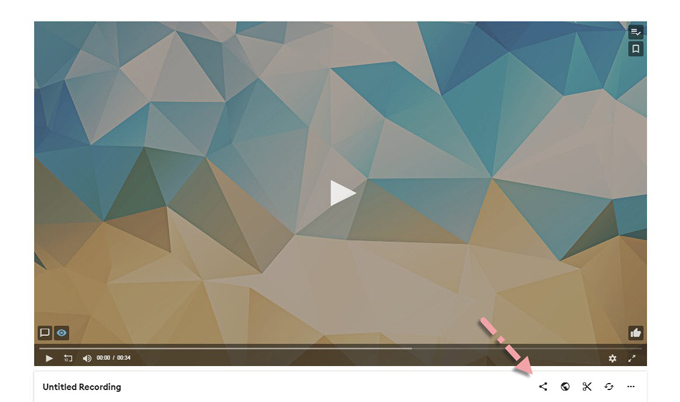
- Although there’s not much you can do during the process, the video will be automatically uploaded to your VidGrid account platform for sharing, editing, etc.
Loom
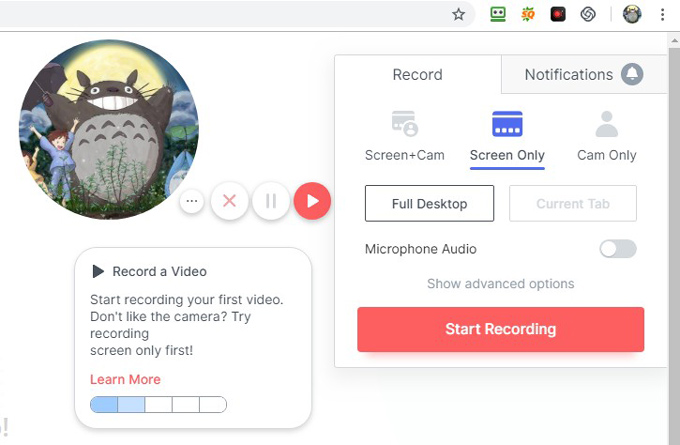
Except for recording Chrome screen, Loom also provides a publicly shareable link which will be copied to clipboard automatically once the recording is done. Plus, various recording modes can be chose within this Chrome extension just like within ApowerREC: Full Desktop recording, Front Facing Camera or Tab Only.
- Once launched the Loom extension, you can manually close the webcam window if you don’t need it. Usually, the webcam image will be your profile picture when no webcam is detected.
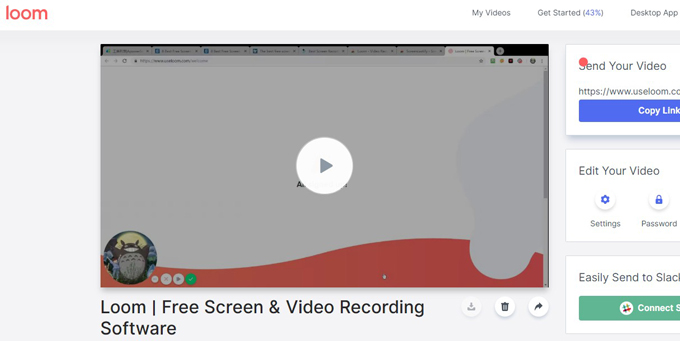
- Similar to VidGrid, the video recorded by Loom will be sent to your account platform as well. From there, you can delete or share the video with one click.
TinyTake
Today’s last solution for how to record Chrome screen – TinyTake! With the capability of capturing screen, recording screen, uploading video and editing video, TinyTake can still be a competitive recorder after viewing all the above options . Although the editing tool is limited to VIP users exclusively, the software itself is fluent and effective in deed.
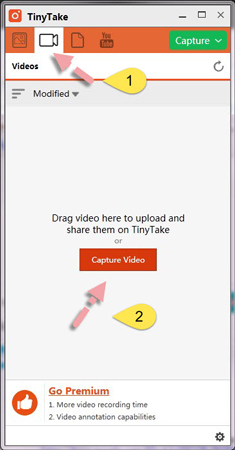
- Just like VidGrid and Loom, a registered account is required before using the program. Once done, start the recording by clicking “Capture Video” under “Videos” section.
- You will see a notice regarding the 5-minute recording time limitation under the toolbar while using the program. Therefore, unlimited version must be unlocked under purchase.

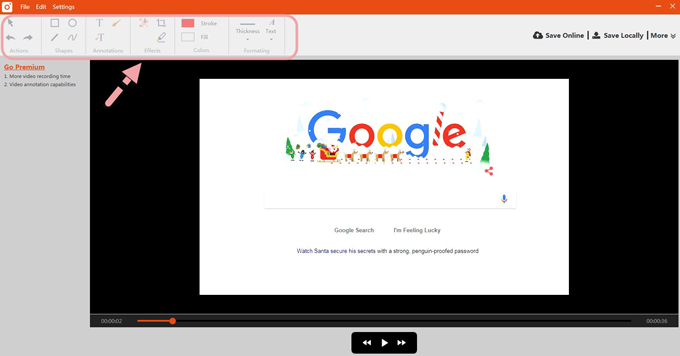
- Furthermore, TinyTake actually has a full-scale video editing panel such as adding lines, texts, effects, etc. And you can choose to purchase the VIP version to enjoy it. Besides, the recorded video can be saved online, locally or be uploaded to YouTube.
Extra Tips!
If it’s quite hard for you to choose one among the aforementioned Chrome screen recorders, the following sites may help you to find more about the five programs. Kindly click the link below to see more information about the respondent tool:


Leave a Comment 0 Comments